
Mrs. Abernathy's chocolate cake is my all-time favorite cake ever. I connect it to birthdays and family and happiness and licking batter off of beaters. But more than the nostalgia, it's just a damn good chocolate cake. It's very moist and soft, and possibly even better after being refrigerated overnight. It's also not too sweet, so you can pile on icing without going into a sugar coma. This is a very good thing.
The name comes, as best as I can recall, from a neighbor of my mom's when her family lived in Kansas during the 1960s. Mrs. Abernathy gave the recipe to my Nana, who passed it down to my mom and then to me. I've often wondered who this fabled woman really was, and if her descendants are also making this cake as a treasured recipe inherited from their grandmother. I'd like to think that they are.
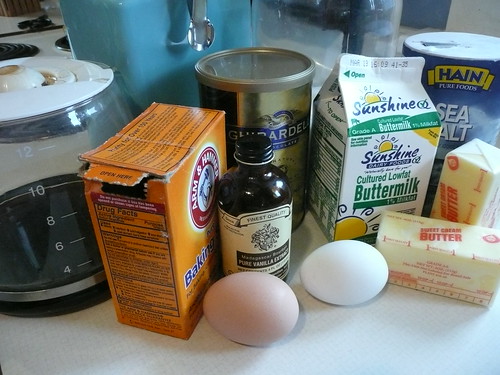
The ingredients aren't particularly complicated; they're mostly just stuff you'd already have around. Somewhat amusingly, the thing I'm least likely to have at any given time is coffee. (My caffeine-addicted mother and sister will either laugh or cry at that statement. Possibly both.) Luckily, I have coffee-drinking housemates who are happy to share. I'll walk you through the process step by step in pictures, but I've printed the recipe in full at the end of this post in case you want it all in one place. Much easier that way.
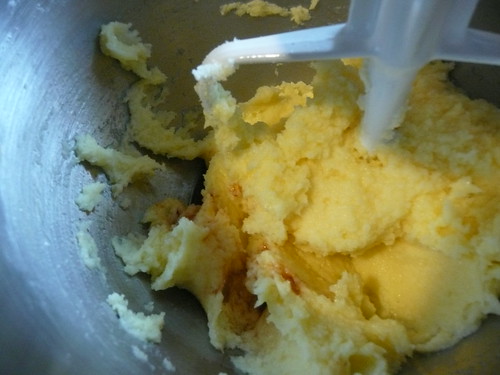
Begin by creaming together 2 cups white sugar and 1 C (2 sticks) softened butter. The butter should be soft but not melted--a few seconds in the microwave should do the trick. Cut it up into pieces to make it easier on your beater.
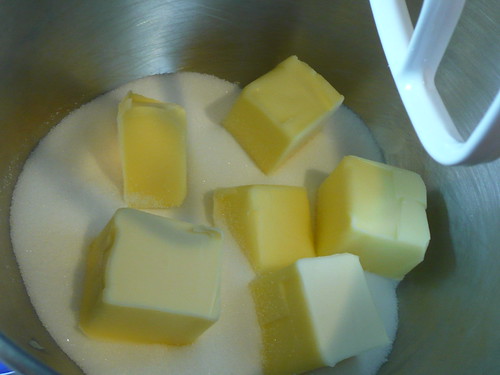
I prefer to use a stand mixer, but a big bowl and a hand electric mixer would work fine. When I was a freshman in college, I'd take my big bowl and whisk down the hall to the ginormous baseball guys and ask them if they'd pretty please whip it for me in exchange for some of the finished baked goods. That actually worked surprisingly well.
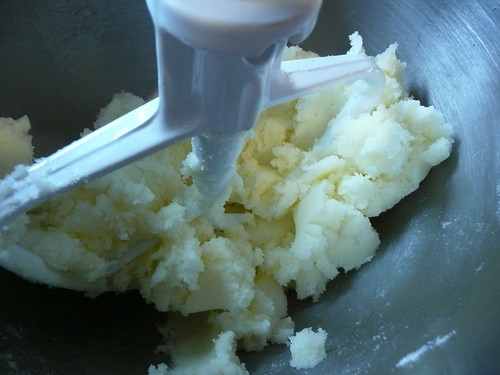
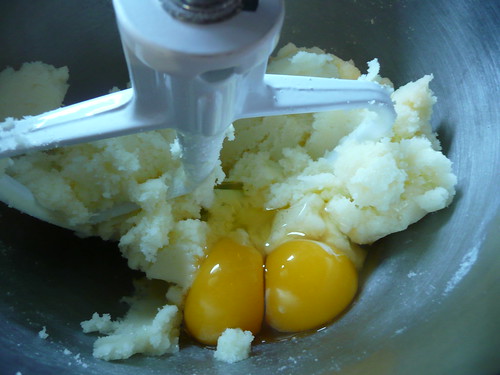
Once everything is whipped together nicely, add two eggs and 1 tsp vanilla extract and beat to combine.
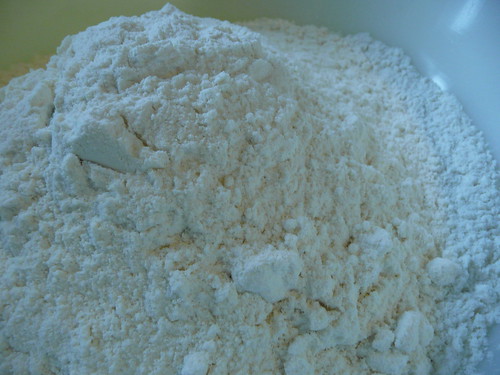
Meanwhile, prepare your dry ingredients in another big bowl. Start with 3 cups sifted flour. Or if you're too lazy to accurately sift and scoop your flour, just measure 3 scant cups straight out of the bin. I probably use a total of 2 2/3 to 2 3/4 cups when I do it that way. Definitely not the most scientific or accurate; someday I'll get a kitchen scale and weigh my ingredients instead.
Add in 3/4 cup really good quality unsweetened cocoa powder. I'm partial to
Scharfen Berger or
Ghiradelli, but feel free to use your favorite. Just not the Hershey's crap, or the ghost of Mrs. Abernathy will get you. (Come to think of it, Mrs. Abernathy probably used Hershey's cocoa powder herself. But that's not the point. It's just not as yummy.)
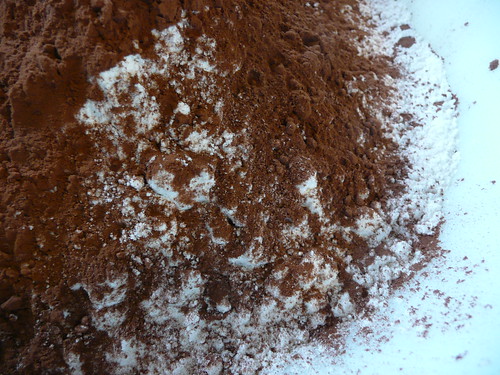
Carefully measure and add 1/2 tsp. salt and 2 tsp. baking soda--these are not ingredients you can treat lightly. Too much, and your cake will taste awful.

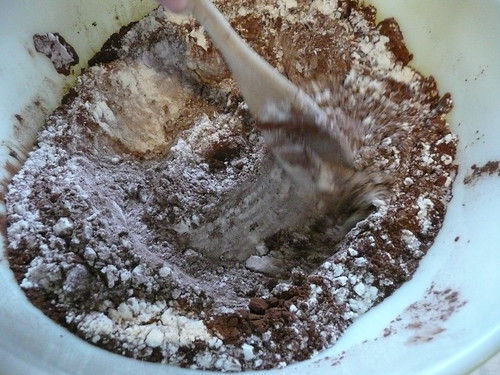
Give it all a good stir until the dry ingredients are uniformly tan in color.
Meanwhile, brew 1 cup of good hot coffee. Add 1 cup buttermilk, for a total volume of 2 cups wet ingredients. (If you don't have buttermilk, cheat by curdling whatever milk you have on hand with a generous squeeze of lemon juice. Stir and let it sit for a moment; the milk solids should congeal slightly. High-fat milks work better than low, but don't worry too much about it.)
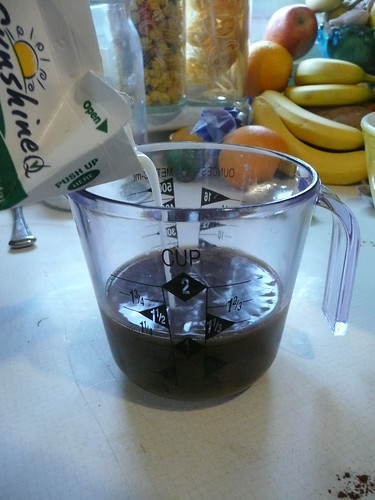
Now you have three separate bowls: butter/sugar/eggs in the mixer, dry ingredients in a big bowl, and wet ingredients in a measuring cup.

Alternately add your wet and dry ingredients to the butter/sugar/eggs mixture a bit at a time, and mix well between each addition. KitchenAid makes a great bowl shield that keeps your flour from exploding back up in your face. Very handy.

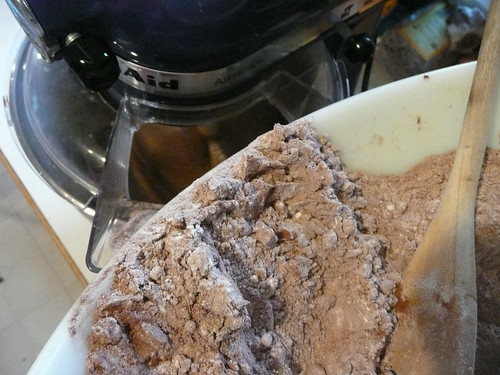
Somehow, even though there's only a small amount of cocoa powder as a fraction of the total volume, the resultant mixture will be a beautiful chocolate brown. It's always a little magical when that happens.
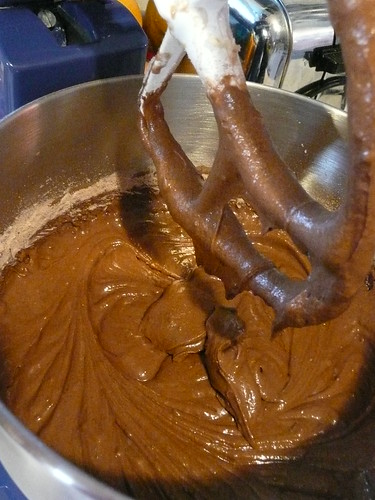
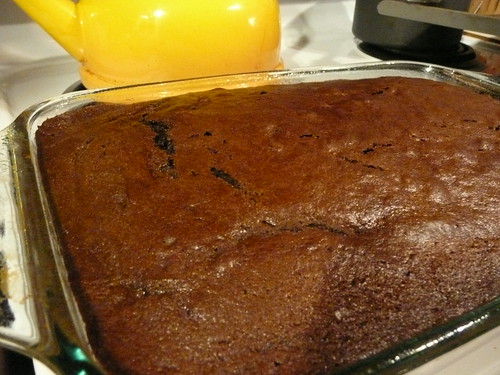
Pour the batter into a greased 9" x 13" pan, three greased 9" rounds, or 18 paper-lined cupcakes. (Optional step: lick the bowl and beater and make happy contented sounds.) Bake at 350 degrees 30-35 minutes for a big rectangular cake, 20-25 minutes for the rounds, or 15-20 minutes for cupcakes. Test near the end of the baking time by inserting a toothpick into the middle of the cake; it is done when the toothpick comes out clean.
Meanwhile, prepare the icing! This is a really simple buttercream that I threw together without much of a recipe. Feel free to use your favorite.
Whip 1 cup softened butter at high speed until it's light and fluffy.
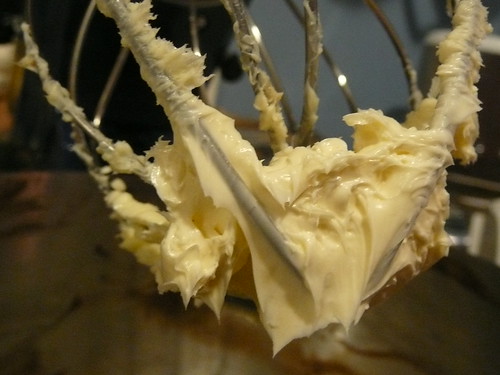
Slowly add powdered sugar, a bit at a time. Let it totally incorporate before adding more. I probably used a total of 3-4 cups sugar.
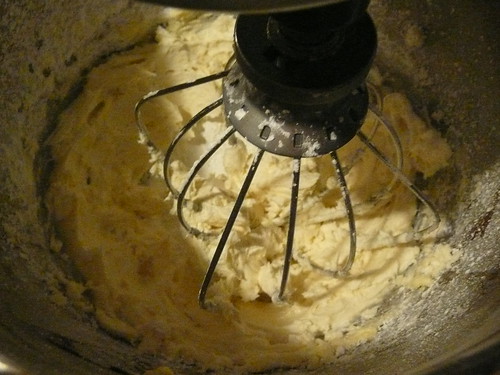
Add your favorite flavoring: a teaspoon of vanilla extract is classic, but you could also use almond or maple or even mint. One of my favorites is a splash of Baileys Irish Cream. Also add any food coloring you'd like to use. Whip it up really well until the frosting is thick and spreadable.

When you're cake is done, let it cool completely before icing it. If you try to put the frosting on when the cake is still warm, it will melt the butter and become a terrible mess.
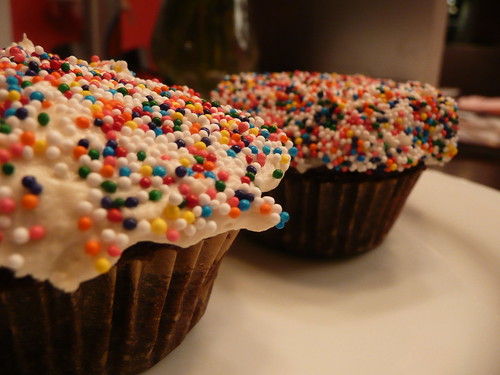
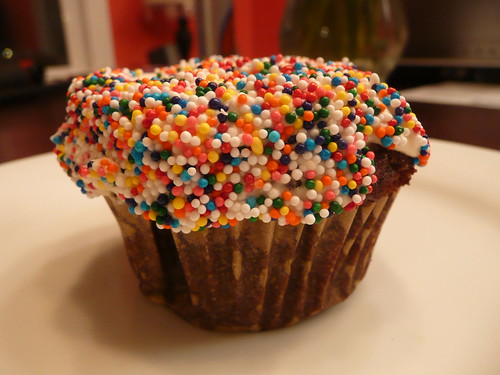
Frost your cake however you'd like! I often use a pastry bag, but this time I just spread the icing on with a knife and rolled my cupcake tops in a plate of sprinkles. Couldn't be easier or cuter.
 Mrs. Abernathy's Cake
2 C sugar
1 C butter, softened
2 eggs
1 tsp. vanilla extract
3/4 C unsweetened cocoa powder
3 C sifted flour
1/2 tsp. salt
2 tsp. baking soda
1 C buttermilk
1 C hot coffee
Preheat oven to 350 degrees. Grease a 9" x 13" pan or three 9" rounds or add paper liners to 18 cupcakes. In a large bowl, cream together sugar and butter. Add eggs and vanilla, mix thoroughly. In a second bowl, stir together dry ingredients. Add dry ingredients alternately to batter with wet, stirring well to incorporate. Pour into prepared pans or cupcake papers. Bake 30-35 minutes for 9" x 13" pan, 20-25 minutes for 9" rounds, or 15-20 minutes for cupcakes. Cake is done withen toothpick inserted in center comes out clean. Store covered in the refrigerator up to three days.
Happy baking!
 Pugs. The amazing blue of Himalayan poppies and Morpho butterflies. Satin ribbons. Blue-and-white anything.
 Vintage fabrics. Velvet ribbons. Quotable quotes.
 Seashells, roses, hydrangeas. Wrinkles. Sand-and-sea colors.
 Etageres, tuteurs, vintage greeting cards, really good-quality stationery, and sterling.
 Rosebuds from a corsage given to me by one of my daughters at a high school mom-daughter event.
  The remnant of a teacup and saucer that I fell in love with at a little restaurant in a Swiss train station. It was their everyday china and not for sale, but I couldn't leave without it. I asked our waiter to ask the manager what he'd charge me for it. They were both bemused, but we agreed on a modest price. Until it broke, it was my favorite cup for morning coffee. I couldn't bear to part with it altogether, so I hung this remnant on a satin ribbon so I could still enjoy it every day.
  Oh, I love this cheese! Cowgirl Creamery's "Red Hawk" cheese is like Brie on sterioids. A few years back, it was so hard to find here in Southern California. I kept this label to show to grocery-store managers, pleading with them to stock it. It's easier to find now, but I still keep the label. Why? Uhhh, because...it's cheese!
 The dried sprig of Bachelor's Button, a.k.a. Cornflower. This one was growing wild at the edge of a field in the Czech Republic. I was on a weeklong hiking vacation in the Czech countryside. Every day I tucked a different wildflower into my hat band. On Bachelor's Button Day, we walked down wooded paths lined with raspberry bushes. The bushes were bejeweled with hundreds, thousands, of tiny, sweet, intensely flavored berries. We did more eating and moaning than hiking that day!


 Then, I made a basic buttercream frosting (recipe at end of this post, too) and threw some of the caramel glaze in to flavor it more:


 Because half of a delicious cupcake is better than a whole, sort of dumb one.


